Mini Pumpkin Pies with Maple Cream
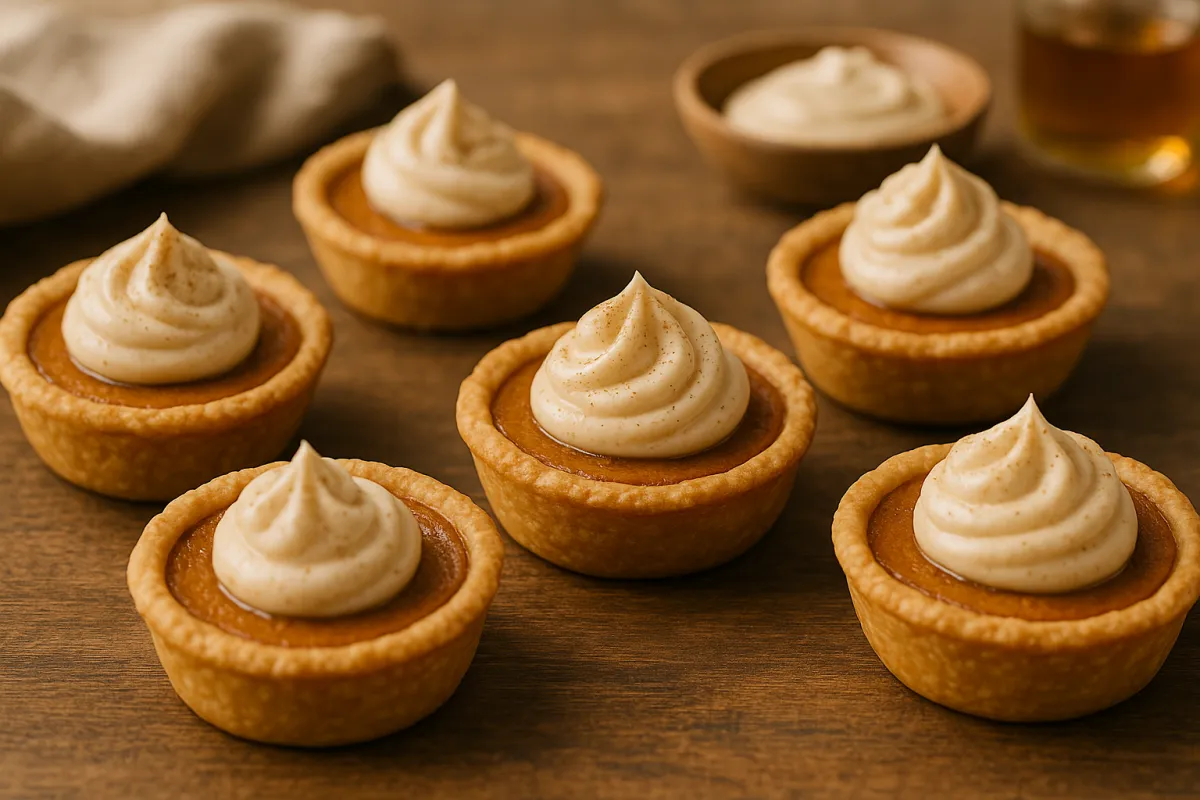
🥧 Mini Pumpkin Pies with Maple Cream
Tiny pies. Big autumn flavor. 🍁
There’s something magical about fall baking — the smell of cinnamon, the sound of pie crust crackling in the oven, and that first creamy, spiced bite. These Mini Pumpkin Pies with Maple Cream take everything you love about classic pumpkin pie and make it cuter, easier, and quicker!
They’re perfect for Thanksgiving dessert tables, cozy weekend bakes, or even lunchbox treats. Each one is buttery, spiced, and topped with the most dreamy whipped maple cream.

🍂 Why You’ll Love These Mini Pumpkin Pies
Quick to bake: No complicated crust or long chilling time.
Perfectly portioned: Great for parties or family gatherings.
Full of cozy fall flavor: Pumpkin, cinnamon, nutmeg, and maple syrup.
Kid-friendly: Easy steps and fun to decorate!
🧺 Ingredients (Makes 12 mini pies)
For the pies:
1 pre-made pie crust (or homemade if you’re feeling fancy 😉)
1 cup (240 g) pumpkin purée
½ cup (120 ml) evaporated milk (or double/heavy cream)
⅓ cup (70 g) light brown sugar
1 large egg
½ tsp ground cinnamon
¼ tsp ground nutmeg
¼ tsp ground ginger
Pinch of salt
For the maple cream:
1 cup (240 ml) heavy whipping cream
2 tbsp pure maple syrup
½ tsp vanilla extract
🥣 Step-by-Step: Mini Pumpkin Pies with Maple Cream (Ultra-Detailed)
Before You Start (3–5 minutes)
Oven: Preheat to 180°C / 350°F (or 160°C fan).
Tin: Standard 12-cup muffin tin, lightly greased.
Work surface: Lightly flour your counter.
Tools: Rolling pin, 8–9 cm (3¼–3½-inch) round cutter or glass, bowl, whisk, ladle, cooling rack, electric mixer for cream.

Step 1: Make the Pumpkin Filling (5 minutes)
In a bowl, combine:
1 cup pumpkin purée
½ cup evaporated milk
⅓ cup brown sugar
1 egg
½ tsp cinnamon
¼ tsp nutmeg
¼ tsp ginger
Pinch of salt
Whisk until smooth (30–45 sec).
👩🍳 Visual cue: Looks like pourable custard, smells like pumpkin spice heaven.

Step 2: Prepare the Mini Crusts (7–10 minutes)
Roll out your pie crust to about 3 mm / ⅛-inch thick.
Cut 12 circles with your cutter or glass.
Press each circle into your muffin tin so the dough comes slightly above the rim.
Poke the base with a fork 3–4 times (to prevent bubbles).
Optional: Par-bake crusts for 5 minutes for crispier bottoms.

Step 3: Fill the Shells (2–3 minutes)
Whisk your pumpkin filling again.
Spoon about 2 tbsp filling into each crust (almost to the top, but don’t overflow).
Visual cue: Evenly filled, glossy tops.

Step 4: Bake (20–25 minutes)
Bake on the middle oven rack for 20–25 minutes (start checking at 18).
Doneness cues:
Centres look set, not liquid.
Crusts are lightly golden.
When nudged, pies wobble just slightly.
If edges brown too fast, tent with foil.
👩🍳 Smell cue: The kitchen smells like pumpkin spice paradise!

Step 5: Cool (10–20 minutes)
Let pies cool in the tin 10 minutes.
Gently lift out (use paper strips or a butter knife).
Cool on a wire rack until room temperature (about 15 minutes).
Visual cue: Tops are matte, no wet shine.

Step 6: Make the Maple Cream (3–5 minutes)
In a chilled bowl, whisk together:
1 cup heavy cream
2 tbsp maple syrup
½ tsp vanilla extract
Whip until soft peaks form (fluffy but not stiff).
Tip: Chill your bowl and whisk for 10 minutes first for perfect cream.

Step 7: Finish & Serve (2 minutes)
Add a swirl or dollop of maple cream on each mini pie.
Optional: Dust with cinnamon or drizzle a little maple syrup.
Serve on a cozy plate and enjoy your bite-sized fall treat!
Texture goals: Crisp crust, creamy pumpkin centre, fluffy maple cream.

Recommended Tools for Mini Pumpkin Pies with Maple Cream
🥧 1. Nonstick 12-Cup Muffin Tin
➡️ Non-Stick Muffin Pan on Amazon
Perfect for baking evenly golden mini pies that slide out easily. Look for one with sturdy edges and a nonstick coating for best results.
🧈 2. Rolling Pin
➡️ Adjustable Rolling Pin
If you’re rolling pie crusts, an adjustable rolling pin keeps your dough perfectly even — no guessing, no uneven baking.
🔪 3. Round Cookie or Pastry Cutter Set
➡️ Round Cookie Cutter Set
You’ll need one about 3¼–3½ inches wide to cut your mini pie crusts. This set gives you multiple sizes for cookies, biscuits, or pastries too!
🥄 4. Silicone Spatula Set
➡️ Silicone Spatula Set
Perfect for scraping pumpkin purée, folding batter, or smoothing pie filling without scratching your bowls.
🥣 5. Mixing Bowl Set (Glass or Stainless Steel)
➡️ Glass Mixing Bowl Set
You’ll need a few different sizes for mixing your filling, whipping cream, and rolling crusts. Glass bowls are great because you can see the texture while mixing.
🧁 6. Hand Mixer (for the Maple Cream)
➡️ KitchenAid 7-Speed Ultra Power Hand Mixer
Light, reliable, and perfect for whipping maple cream to soft peaks in minutes.
🧊 7. Cooling Rack
➡️ Chef Cooling Rack
Cooling your mini pies properly prevents soggy crusts and keeps that perfect texture.
🍯 8. Maple Syrup Dispenser or Bottle
➡️ Glass Drizzle Bottle
Neat way to drizzle maple syrup over the pies (and keeps things tidy if you let kids help!).
🍶 9. Measuring Cups & Spoons
➡️ Stainless Steel Measuring Cups & Spoons Set
For precise spice and sugar measurements — accuracy makes all the difference in baking.
🧂 10. Pie Crust Shield or Foil Rings (Optional)
➡️ Pie Crust Shield
Prevents the crust edges from browning too fast. Super helpful if you bake a lot of mini pies or tarts.
